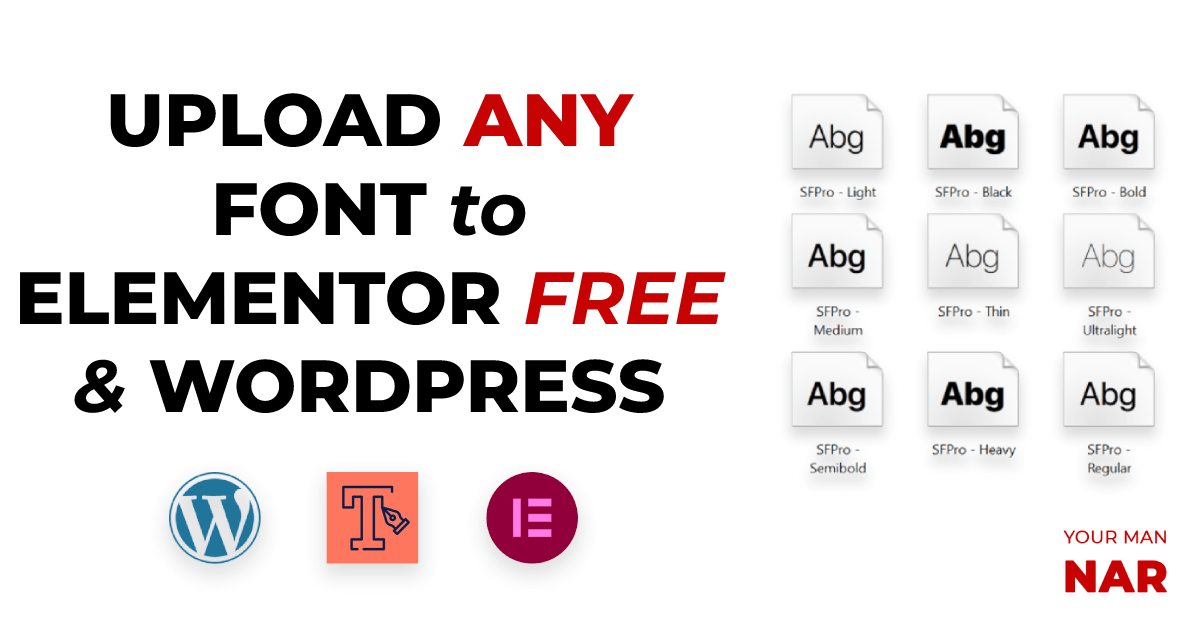
Alright alright, fair request, you want to install completely custom fonts on your website, you want to stand out, and Elementor asks you to go pro to install custom fonts. That’s why Your Man Nar is here. I will very quickly show you how to install custom fonts on Elementor Free & WordPress.
The process:
- Install & activate the required plugins
- Download or purchase your font
- Upload your font to WordPress & Elementor
- Quick Answers – Sum up in a paragraph
Install & activate the required plugins
Custom Fonts – One of the best plugins to install a font on WordPress. Intuitively this will be used to upload the fonts and define its different weights.
Elementor – Obviously.
Download or purchase your font
This rather intuitive, let me quickly brief you on the steps and actions:
- Download your font – This is your part, download or purchase the font from an authorized website. Make sure you do not violate any rights. At least do your best 😀
Here are some websites to consider downloading fonts from:
- https://www.dfonts.org/
- https://fontsfree.net/
- https://www.downloadfonts.io/
- https://www.1001freefonts.com/
- Make sure your download font is in one of the following formats:
- .woff2
- .woff
- .ttf
- .eot
- .svg
- .otf
- Make sure you download all the font variants: Thin, Light, Normal, Medium, Bold, Extra bold, etc…

Upload your font to WordPress & Elementor
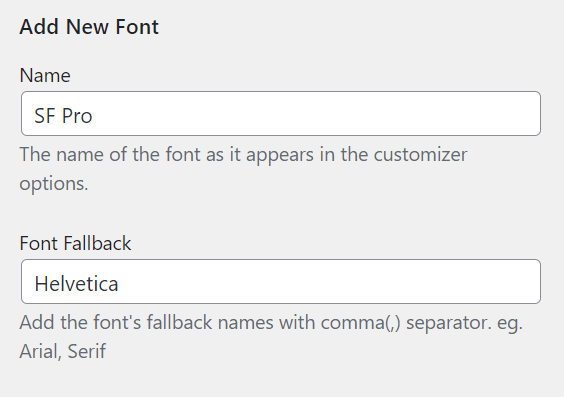
Easy, after activating Custom Fonts, go to Appearance -> Custom Fonts
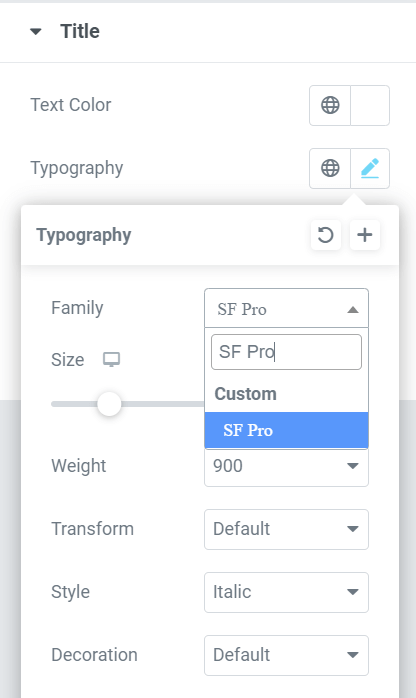
In my example here, I’ve downloaded Apple’s SF Pro font from Thin to Extra Bold.
- Name the font – The name will appear in Elementor’s typography edit section.
- Choose the font’s weight (Thin, Light, Bold, etc…).
- Upload the corresponding file.
- Click Add Font Variation.
- Now change the font’s weight, and upload its corresponding file.
- Repeat the process for all the font weights.
- Click on Add New Font after finishing.
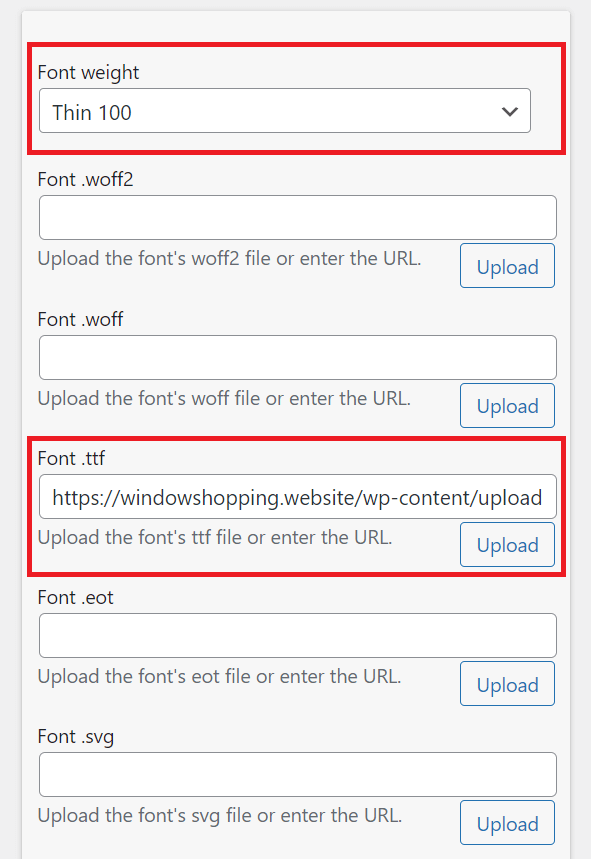
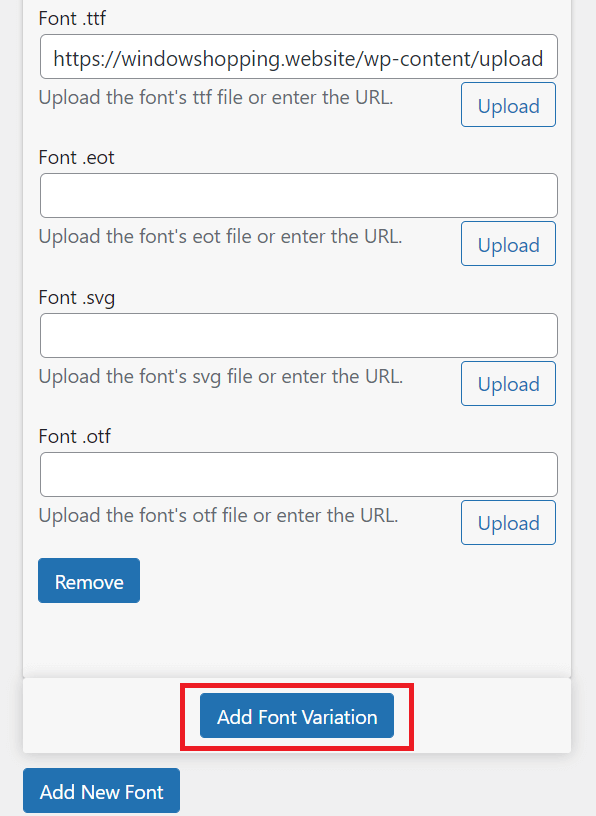
This way you would have added the font with all of its weight variants.
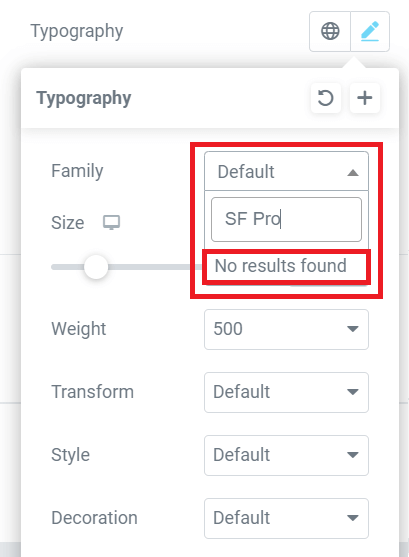
Now go to Elementor’s editor, go to the edit any font, and in the typography search for the font name you have just added.
With your newly installed font, create a beautiful coming soon landing page.
Quick Answers – Sum up in a paragraph
- Install & Activate Custom Fonts
- Download your desired font
- Go to Appearance -> Custom Fonts
- Start uploading your font and its weights
- Done