Want to open a custom-designed pop up after Contact Form 7 submission? Here’s how to exactly do it step by step, no complications. Here’s a complete guide to show pop ups after Contact Form 7 successful submission or any event for that matter.
The process:
- Install & activate the required plugins
- Create your Contact Form 7 form
- Create & design your popup
- Configure trigger settings
- Create the trigger snippet
- Full list of Contact Form 7 events and how to configure them
- Quick Answers – Sum up in a paragraph
Install & activate the required plugins
Contact Form 7 – Obviously, this is what the tutorial is about, install and activate Contact Form 7 if you still haven’t.
WP Popups – WordPress Popup builder – This is the plugin that you need to create & design the pop up, it’s really easy and intuitive.
Code Snippets – This plugin is super useful, in fact, it’s in my favorite tools. It’s used to avoid adding codes in the theme files, this way we avoid mistakes with each theme update.
Create your Contact Form 7 form
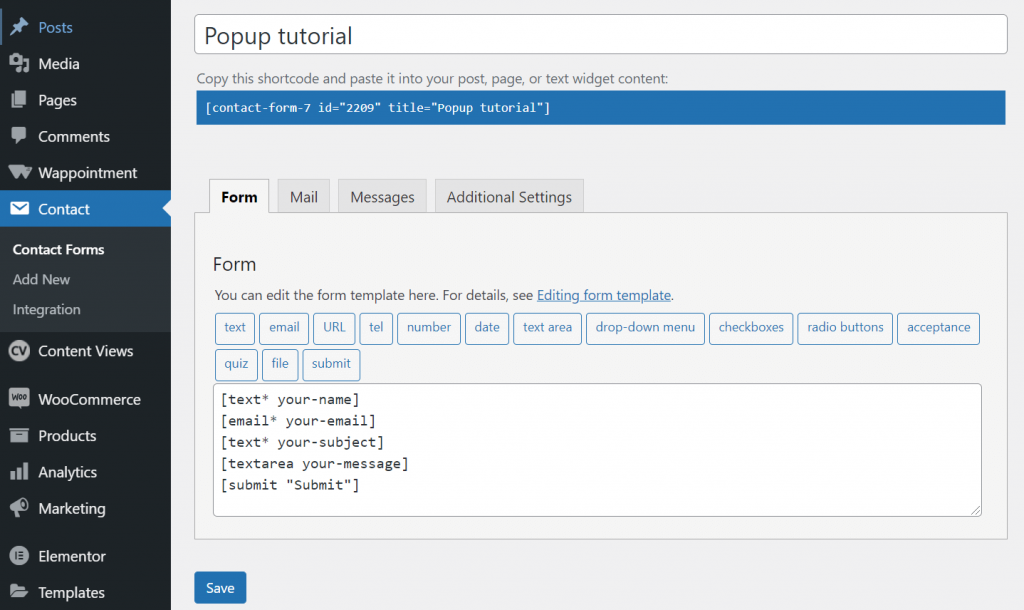
This is rather simple, from your WP dashboard, go to Contact -> Add New and create your form.
Here’s how to fully edit your CF7 form designs
Here’s how to setup email notifications & autoresponders
Create & design your popup
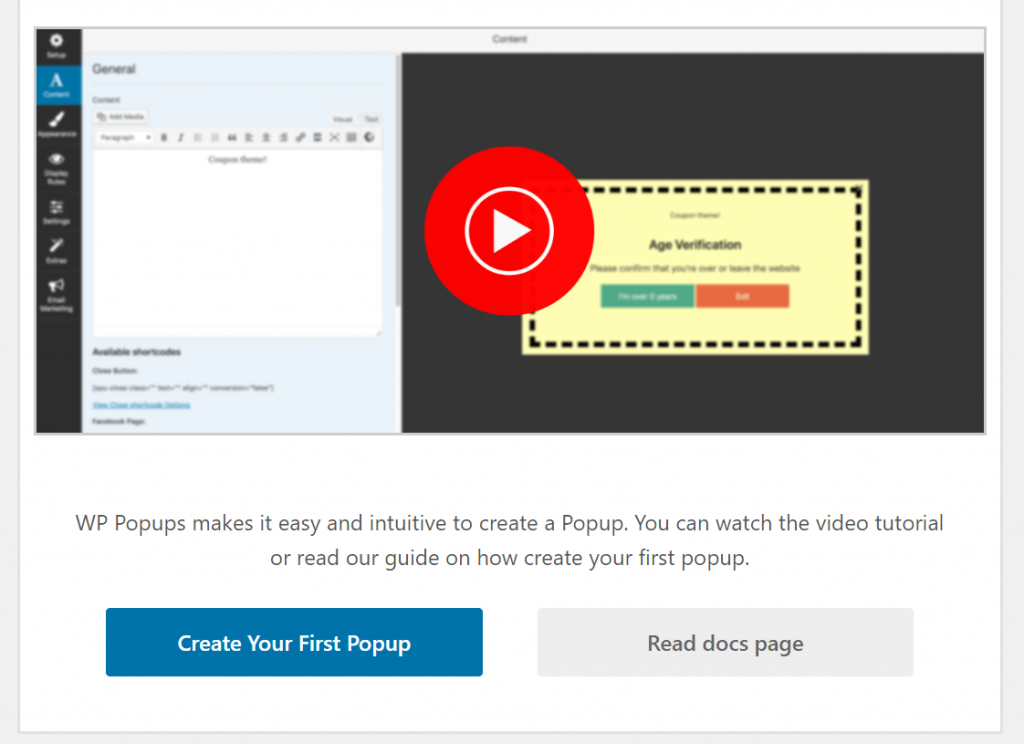
After you activate WP Popups, it will directly take you to a page where it says “Create Your First Popup”
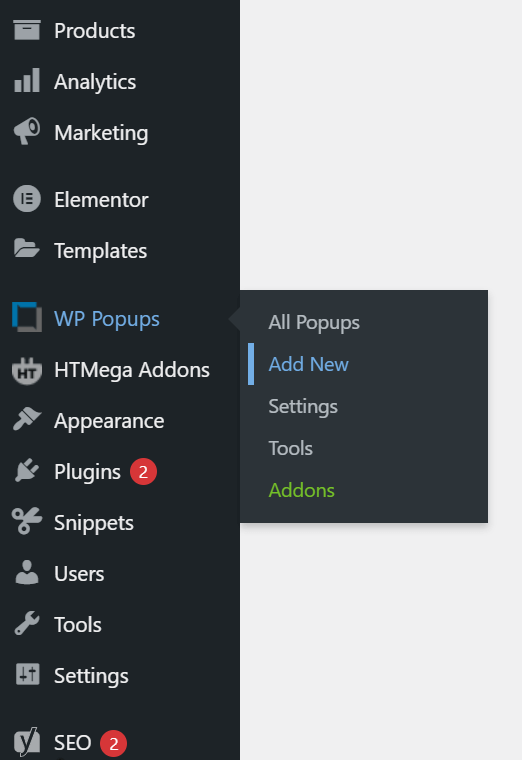
If you can’t find it, simply go to WP Popups from your dashboard’s left menu -> Add New
- Name your popup.
- Choose the template you wish. For the tutorial I’m using the Elegant template.
- Add your content
- Design the appearance: Background color, border color, shadows, etc…
Configure popup trigger settings
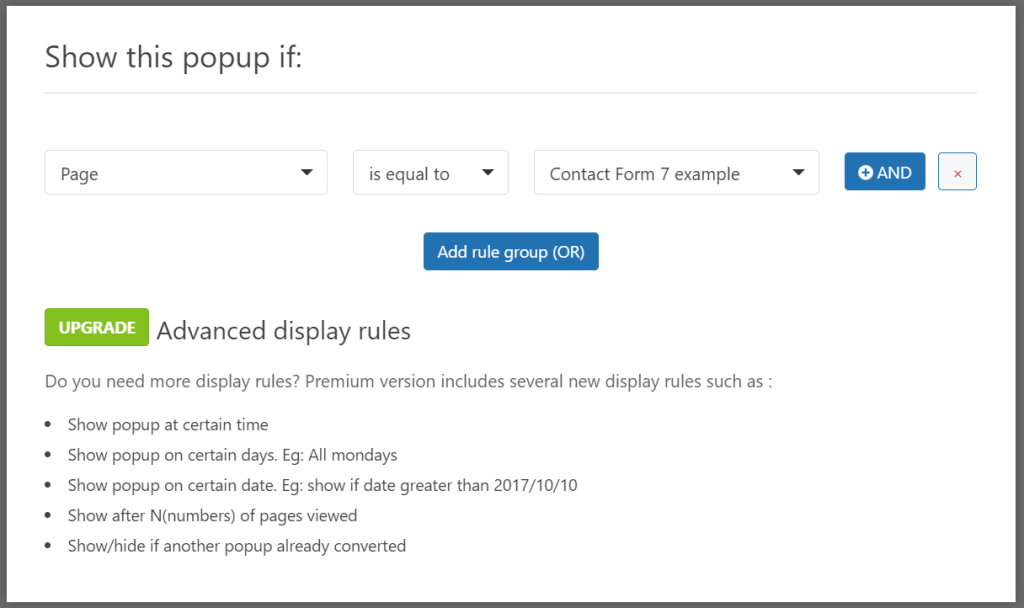
There are two main things to pay attention to, the first is where you want the popup to appear, the pages, and the second is what will trigger the popup, scroll, time or Contact Form 7 form submission.
In the Display Rules tab choose Page -> Equal to -> Choose the page where your form is inserted.
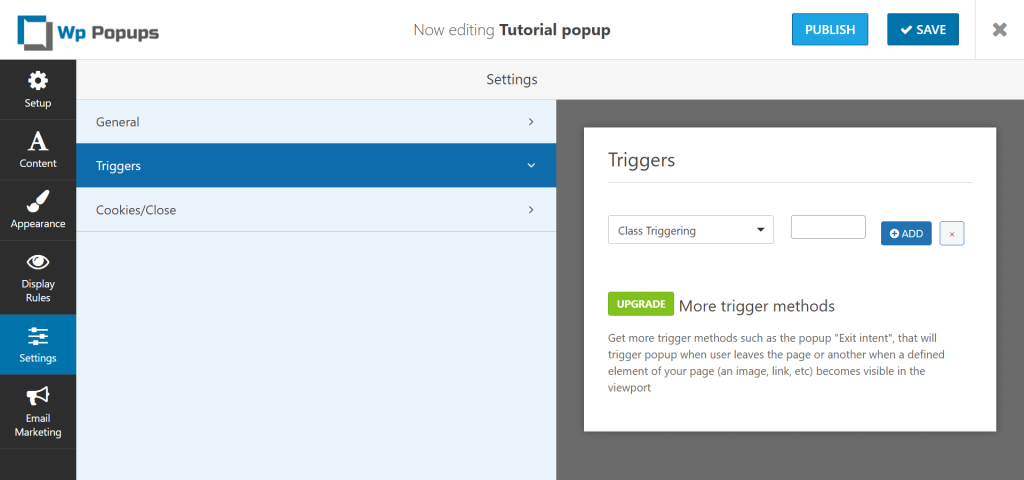
In the Settings tab -> Triggers -> Class Triggering -> leave the value empty
Save & Publish
Create the trigger snippet
Stay with me, we created the popup and the form, we need both of their IDs, to get them
Form ID:
Go to the edit mode of your CF7 form, you will find the ID in the URL and the shortcode.
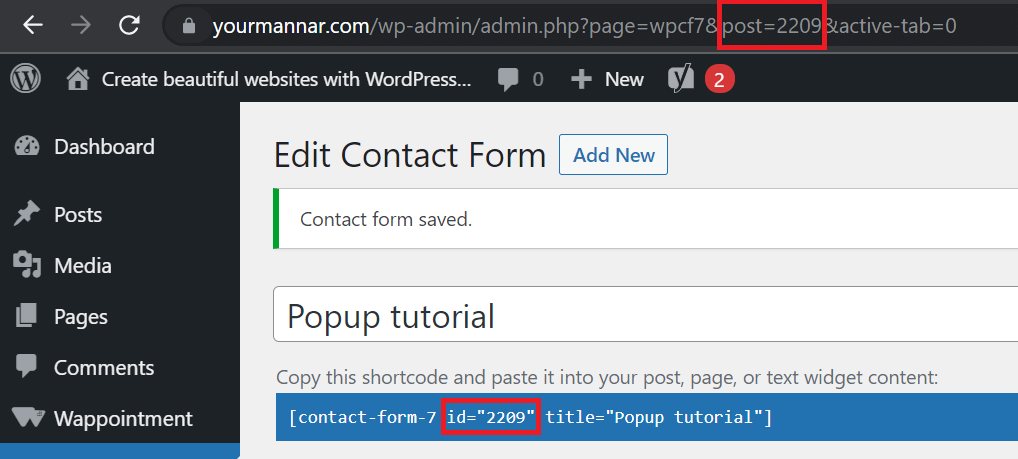
Popup ID:
Go to the edit mode of your popup, again you will find the ID in the URL.
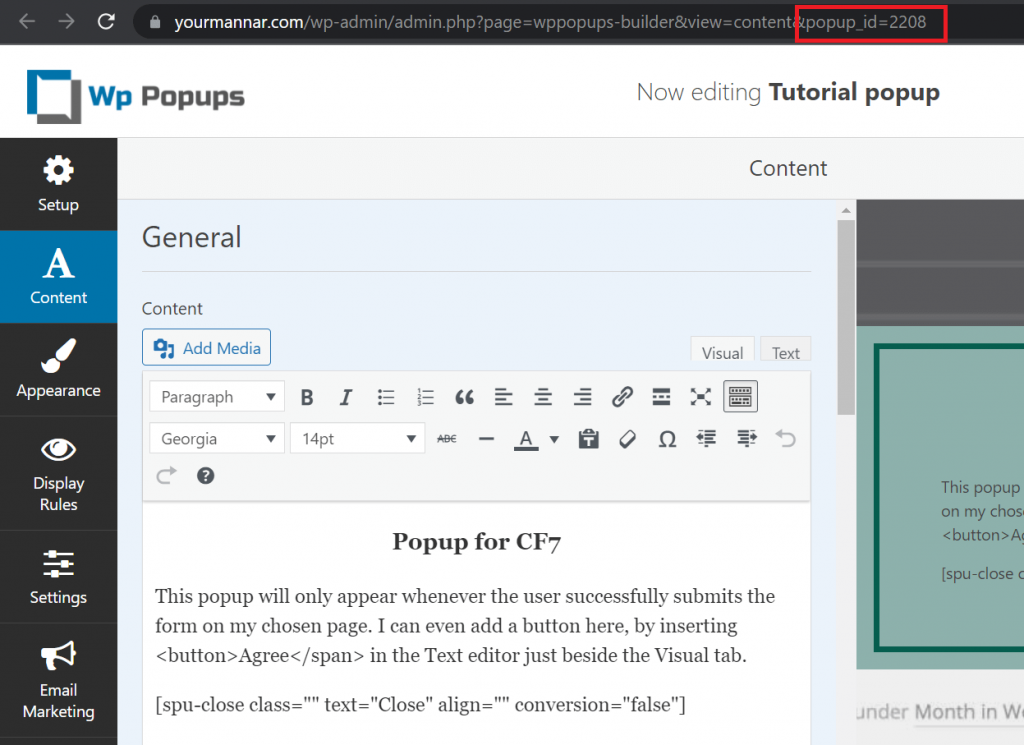
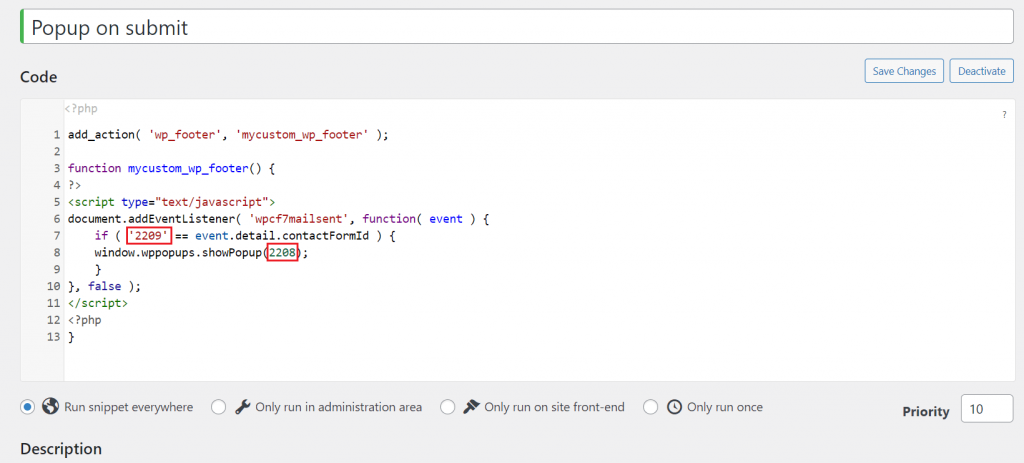
Now that you have both your IDs, go to Snippets -> Add New -> Name your Snippet -> Paste the following code in there, CHANGE the Form ID and the Popup ID with your form and popup IDs.
add_action( 'wp_footer', 'mycustom_wp_footer' );

function mycustom_wp_footer() {
?>
<script type="text/javascript">
document.addEventListener( 'wpcf7mailsent', function( event ) {
    if ( '2209' == event.detail.contactFormId ) {
 	window.wppopups.showPopup(2208);
	}
}, false );
</script>
<?php
}
Important notes:
- You should make sure that popup’s display rules match the form’s placement. In other words, the popup is present on the same page as you set in the Display Rules in the popup.
- The line if ( ‘2209’ == event.detail.contactFormId ) means that the code will only run for this particular form, with the ID 2209. Your ID will be different.
Now this popup will only show when the user successfully fills the form.
If you want to set up popups for different cases, let’s say a failed message, or whenever the user clicks on the submit button, here’s how to do it.
Full list of Contact Form 7 events and how to configure them
Alright, so in our code, there’s this line
document.addEventListener( ‘wpcf7mailsent’, function( event ) {
The highlighted part, wpcf7mailsent, is the part that says show the popup ONLY if the form was filled successfully and the email was sent.
Now if you want to show the popup for different reasons or let’s say show a different popup for different cases. A popup when the form is filled successfully, a different popup when there’s a failure. All you have to do is change the wpc7mailsent to the desired condition.
Here’s the complete list of Contact Form 7 events
- wpcf7invalid — Fires when an Ajax form submission has completed successfully, but mail hasn’t been sent because there are fields with invalid input.
- wpcf7spam — Fires when an Ajax form submission has completed successfully, but mail hasn’t been sent because a possible spam activity has been detected.
- wpcf7mailsent — Fires when an Ajax form submission has completed successfully, and mail has been sent.
- wpcf7mailfailed — Fires when an Ajax form submission has completed successfully, but it has failed in sending mail.
- wpcf7submit — Fires when an Ajax form submission has completed successfully, regardless of other incidents.
Source – https://contactform7.com/dom-events/
I’m showing the process in detail in the video, make sure to watch it.
Quick Answers – Sum up in a paragraph
- Install and activate CF7, WP popups and Code Snippets plugins.
- Create your CF7 form then create your popup.
- Copy both your form & popup IDs from their respective URLs.
- Add a new snippet and add the code in there, simply change the IDs with your IDs.
- Different events on CF7.

